Showing posts with label 3D Modelling For Object and Environment. Show all posts

Wednesday, June 10, 2015

3D Modelling For Object and Environment

Reflection :

In this module, i experienced on how to model a 3D object, environment, a bus, and a simple character. This module were also a platform for me to expose some of my imagination on developing ideas. I have learnt new animation techniques and practically experienced it well with the help of my module leader.  This 3D technical knowledge is through lecture and practice will be very helpful in future.

 As a designer, it is essential to learn new things and software which relates to our studies. this is just a beginning for me and i hope to learn more in future.


For this module:

How would you inspire your peers about your work?

This module is a module where interesting Software(Maya) were introduced to me. This is an opportunity to expose imaginations in form of 3D, it might be real or it might be just a fantasy.


How would you transfer the knowledge between modules?

This module is same as the previous modules where the same ethics are practiced. the beginning part till the end. Interpretation of idea is one way which is very similarly done in all module. Personal skill development, interpretation, evaluation, manipulation, analysis, communication and etc.


3D Modelling For Object and Environment

Animation (Transportation and Environment)

After modelling my red bus, I need to place it as a part of my animation in my environment. These are some of my progress of making my environment and the transportation animation.

First, I manipulated my house (environment model) so that it will look like a nice and neat neighborhood. Here, the helpful shortcut for me was 'CNTRL [D]' to duplicated the house. But before duplicating my house model, I selected every single part of my house and make 'PARENT'. This is because it will be easier for me to duplicate my house without any left over. Then the help of rotate tool also were very helpful to rotate the other side the street of my housing area.


After finish duplicating my houses, I copied my bus from different file to my current scene. Then, a polygon were modeled to make it as a road for my bus to move through.


Moving on to my next progress, the bus slowly with the help of moving tool will be moved at the same time, i will click "s" on the timeline to save my animation of the bus(moving.)

Modelling 3D object and environment is very interesting. 

Sunday, June 7, 2015

3D Modelling For Object and Environment

Animation- Transportation

Continuing my previous task, my transport which is the bus. I would like to make my bus in red colour, so I assigned new material to my bus. Before assigning colour to my bus, i modeled few transparent polygons and placed it as my bus's windows.


 After a major make up, this is how my bus look like. 


My bus is now ready to be transferred to my environment. There the animation work will go over for me to make the bus move. Making a bus is not a simple work, it starts as same like all the artwork in Maya as my previous work. 

1. Idea
2. Sketch
3. Illustration (file to JPEG)
4. Start progress in Maya


Monday, June 1, 2015

3D Modelling For Object and Environment

Animation- Transportation

After learning to model a simple character, the next task from the module leader is to make a vehicle.
 This is to include it into the environment that we have done.

1.After attaching the JPEG file to the grid of my scene, I started with the polygon tool to make a half of the bus first.


2.After modelling half of my bus, I use the edges and vertex to drag all the point to created a perfect shape of the bus like exactly how i wanted.


 3.After being satisfied of my bus's shape, i started to work on my bus's side mirror. The procedure was : I extruded a face at side of the bus. Then using subdivision tools, i make more edges. Then i move the edges and point (Vertex) until i get perfect shape of the side mirror.


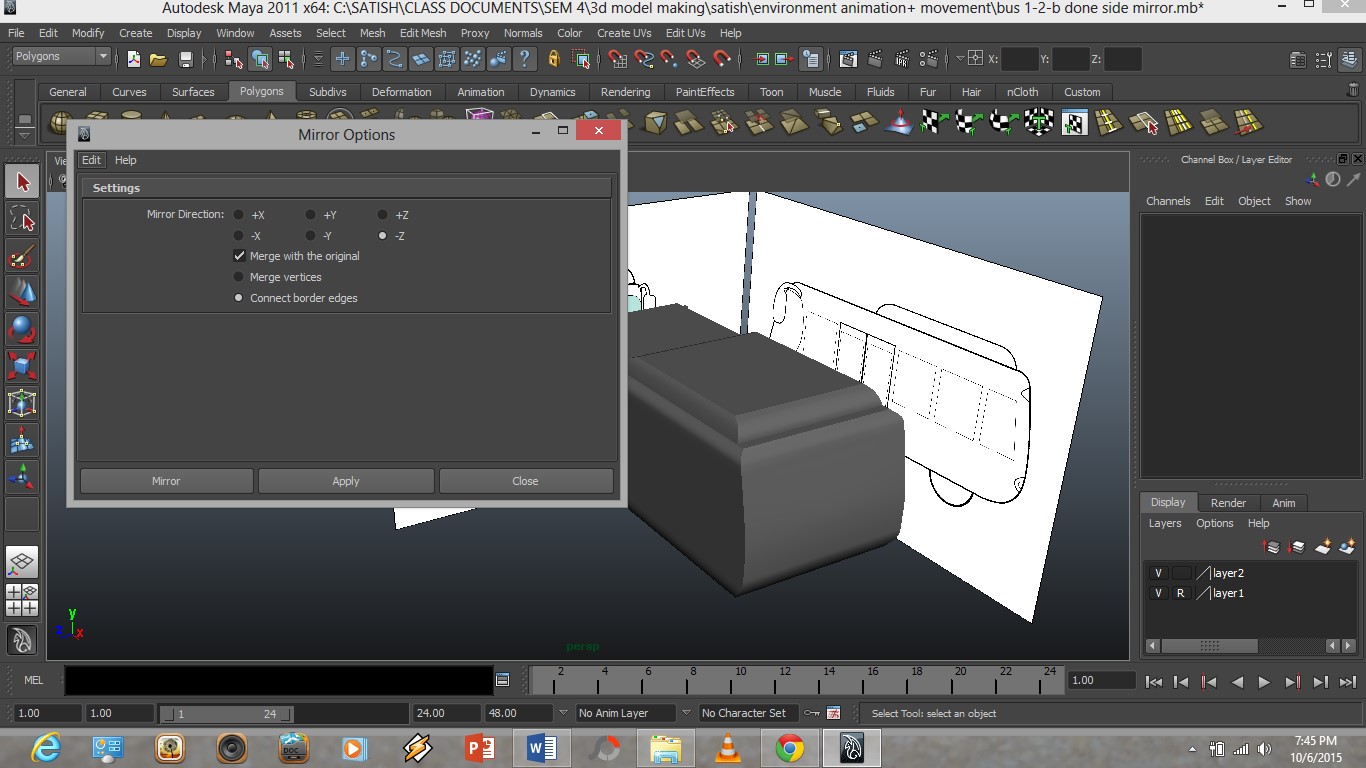
 4. Then I deleted unwanted part of the other side of the bus. This is because, it will never merge when I use the mirror tool if the surface is fully closed. It need some vertex points to merge together.


 5. After that, I use the mirror tool to merge the other part of the bus with the existing part. After merging it, the bus looks perfect as a real bus.


7. Then without wasting time, I delete some surface to make it as the window. This method repeated for other part of the bus's window.


Modelling is not easy but it is not impossible if we use to explore new tools in Maya. Many more tools that I need to experience using them. 


Sunday, May 31, 2015

3D Modelling For Object and Environment

Animation

Continuing my character modelling task, on my character modelling, previously images of my character were attached as guideline. Now it is time for me to make a my character.

I started modelling my character by using the polygon tool (sphere) as the body and head because my character's head is its body itself. 

screen capture 1


screen capture 2


screen capture 3


Then, I switched the object into face view, This is due to the division of the sphere polygon. Then, the moving tool were useful here to drag out model faces for the ear of my character. The same process used for the nose part of my character...

screen capture 4


After some adjustment in shape, i add the color on my character. i pick Cyan for my character. 

screen capture 5


screen capture 6


Modelling a character is not easy in Maya, there are so many places where we need to be alert and very concern. This is because, some part of our model might be accidentally dragged, sometimes we might forget to keep on viewing our model's full part. A beginner usually makes mistakes, to avoid or to learn more upon mistake, keep on watching carefully in this task is a must. Spending more time might help to make a better outcome, other than that, to create a perfect character, depending on experience of the modelling artist.


Saturday, May 30, 2015

3D Modelling For Object and Environment

Animation

Now, after introducing into the Maya as a beginner. We are required to make a simple character and then to be developed into the environment that we have developed before. This task is for understanding more advanced process of 3D Animation.

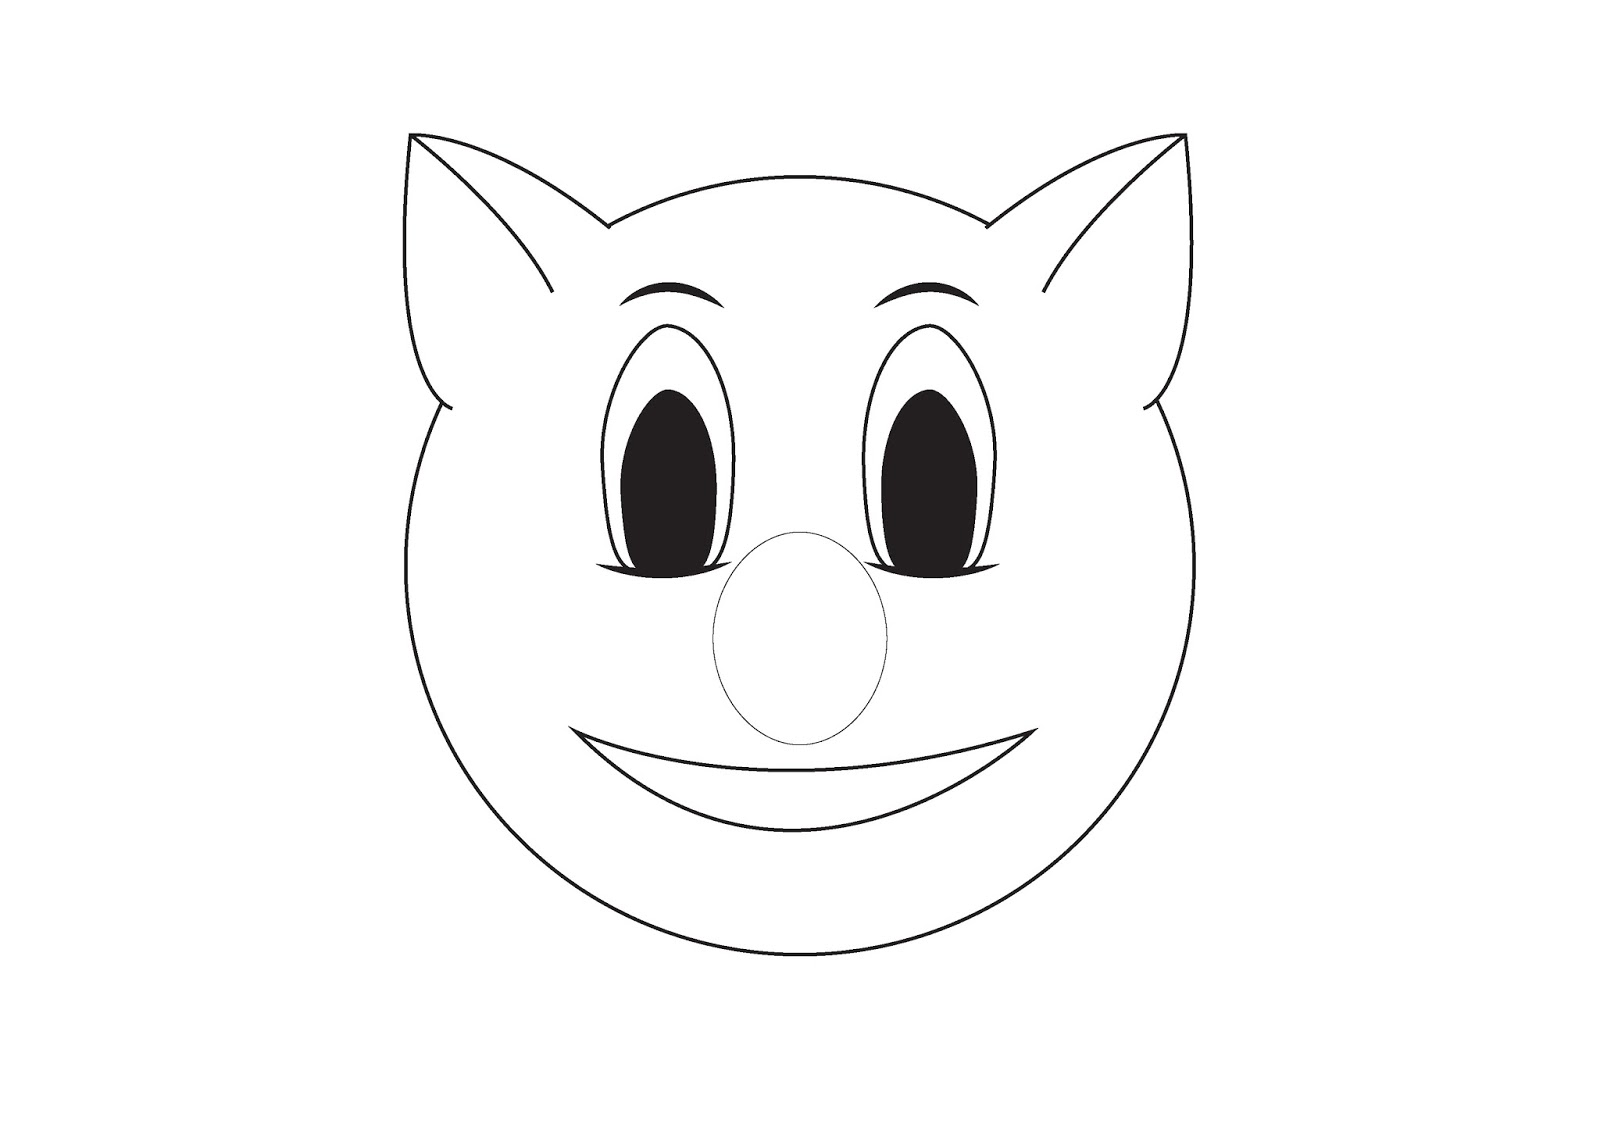
Before starting it in Maya, as usual I sketched a simple character then developed it to JPEG file with the help of Adobe Illustrator.


This two images are the beginning process of developing my sketched artwork which i will use it in Maya. After tracing all the lines and shapes, i save it as a JPEG file.
The result as JPEG file:


picture 1 : Front view of my character 


picture 2 : Side view of my character 

This images will be used as guideline in creating my character model in Maya. It will be place at the side of the grid.

It will look like this:


Sunday, May 17, 2015

3D Modelling For Object and Environment

After illustrating the Bus , the artwork were exported and saved as a “JPEG” format so that it can be attached to the grid of the Maya Software.
Front view JPEG


Side view JPEG


This “JPEG” file need to be attached in Maya, so that it can be used as a guideline to start modelling my bus in Maya. Then, I have to start work on modelling a 3D bus which must look like how I wanted. And the 3D bus will be my transportation model in my environment.

Saturday, May 16, 2015

3D Modelling For Object and Environment

Transportation

After completing my environment in 3D, we were required to make a model of any type of vehicle and to be attached it into the environment.


First of all, for the transportation task, I decided to make a simple bus in 3D. I started the sketch of a bus in illustrator. As usual in starting a task, we need to make sketches as well to design the artwork as how we wanted. This was how I started my sketches in Illustrator.

for Side view of the bus:


for the front view :


This is the beginning process in Illustrator for the front and side part of the bus. All this shapes and lines were made with the help of ‘pen tool’ in Illustrator.

Then, all the important basic parts of the bus were created and placed in position according on how a bus look like.

This task will be continued and will be saved as in 'JPEG' file so that it can be attached in Maya.

Wednesday, May 13, 2015

3D Modelling For Object and Environment

Animation Walkthrough

After taking a video for the camera movement animation, I used my Maya house environment to play with the camera by making a short playblast video on a specific camera.


 First of all, I created a new camera in the scene.


After positioning my camera well in a place, I selected the camera as for the view. This will allow us to see the scenery which is capturing by the camera itself. (we see what the camera captures)


After that, i started to zoom in to the window of my environmental model, then on keyboard, i press 's' on the timeline to save the view. All this steps were following everytime when I zoom in to the spot that I wanted.

1.


2.


3.


After trying a simple one, i tried on applying the camera from an angle to another. I used the same process for this animation too. The playblast outcome was very interesting and I would like to develop my skills in this criteria more and more.

Playblast video 1 :


playblast video 2 :


From this task i have learnt how to rotate, move, zoom in and out using a camera and its view of scenery in Maya. I have also learnt methods on how to make a camera work with angles.


3D Modelling For Object and Environment

Animation walkthrough

With the use of the camera from mobile phones, exploring a space in interesting ways and how the space can be replicated more successfully with virtual cameras.

In this task, I have selected a simple spot to take a video of angle and the rotation of the camera as well. This video was taken in the meeting room of SOMAD.


After a short taking a short video for this animation walkthrough, the instruction next is to use the tools in Maya (camera tool) to replicate as how a video is taken.


Tuesday, May 12, 2015

3D Modelling For Object and Environment

Building An Environment 
(Progress for week 5)

In Maya, after creating my own environment which is a house, as in the task outcome I developed more and placed more important features. The additional part I add on is the fencing wall, ground, lights at the fencing and few more perfection make up to the house porch.

1) After creating the house's basic structure, I use the polygon tool to make a door by adding some color and texture on it to visualise the house as semi reality.


2) Few color options were evaluated for a better visualisation for the roof of the house.


3 ) I tried filling the spaces around my environment by creating garden table and chairs ...


4) After setting up some lighting effects, i re-positioned the polygonal trees according to the fencing wall to make it parallel and stable.


5) After some repairing on the environment, this is the side view followed by front, perspective and top view.

a)


b)


c)


d)


For now, this work is done but need to render the work so that it looks better in 'JPEG' format. And for sure this task will be branched up to develop skills i using this autodesk.

Reflection of this task is the skills that I use and learnt during the process, the procedures and tools that seems to be getting much interesting from day to day. Exploring this software independently is the best way to save it into our memory on how to use it.

Wednesday, April 22, 2015

3D Modelling For Object and Environment

Building An Environment 
(Progress for week 4+5)


After going through on creating an environment, I was not satisfied with my architecture state so I made a new architecture for my Environment Building in Maya. This, i have made a house by creating some space at the side as the garden, doors, windows and some additional objects for the environment. Now it is time for to play with colors too. Adding colors is by 'right clicking' after selecting an object, then go to the ' Assign new material '. Coloring process seems to be very interesting in Maya and in addition, assigning texture for the object are also available. I have not tried in texturing object (bump map). This time, with my basic knowledge in Maya, i have done a which is not in a greater quality but it is work as for a beginner of Maya.

First of all, on the grid, i started on making a simple round headed tree on the grid, again with the use of polygon tool, i started making cubes for the house and adding one by one for the other structures.


Other than just making an environment, some keyboard shortcuts are introduced as well. For duplicating the trees, I learnt that it's a "control + 'D' ". After that i used the moving tool to place those trees at the corner of the environment as I wanted. Now starting for the house with a cube polygon. Then scaling tool were helpful for me to scale the house to big or small size. 


After positioning my house securely, once more the polygon tool to make the roof top and the porch part for my house. To make additional phase on the house, I increased the subdivisions on the polygons. This helped me to explore doing work in Maya in a better way such as a professional user.


After going through these process, I have learnt to make objects in Maya better than before. Now, I can at least make my own simple environment in Maya. Need to explore more in Maya. Hopefully after this i can learn more on bump map...